Free Event App

Free Event App

Did You Know?

You can restrict access to your event with password.

Set up an event

Import/Export Agenda

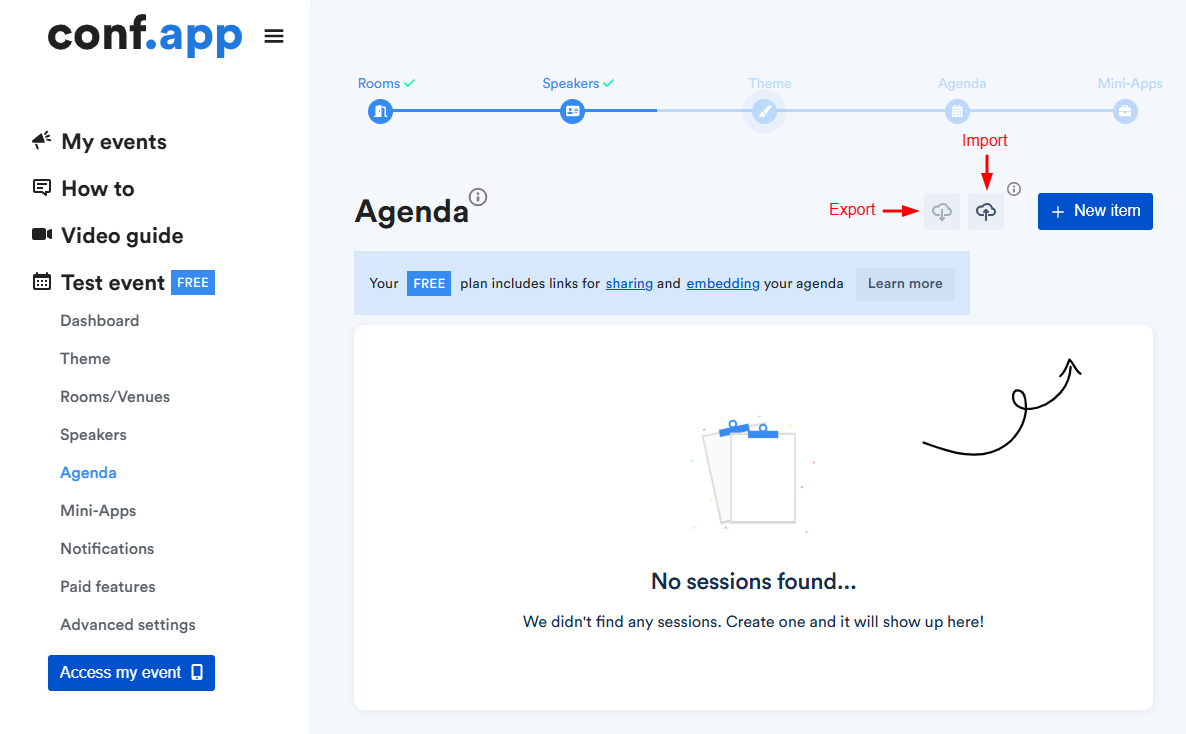
Conf.app enables you to export and import data for agenda in XLSX format. You can easily perform CRUD (Create, Read, Update, Delete) operations using the buttons displayed in the screenshot.

Agenda Export

To view data, use the Export button. Clicking it will download an XLSX file containing the relevant information. For editing data, we recommend using the downloaded file, which includes all the necessary columns for seamless updates.

Note: Agenda mini-apps are not included in the export. These can only be managed directly from the Conf.app dashboard.

Agenda Import

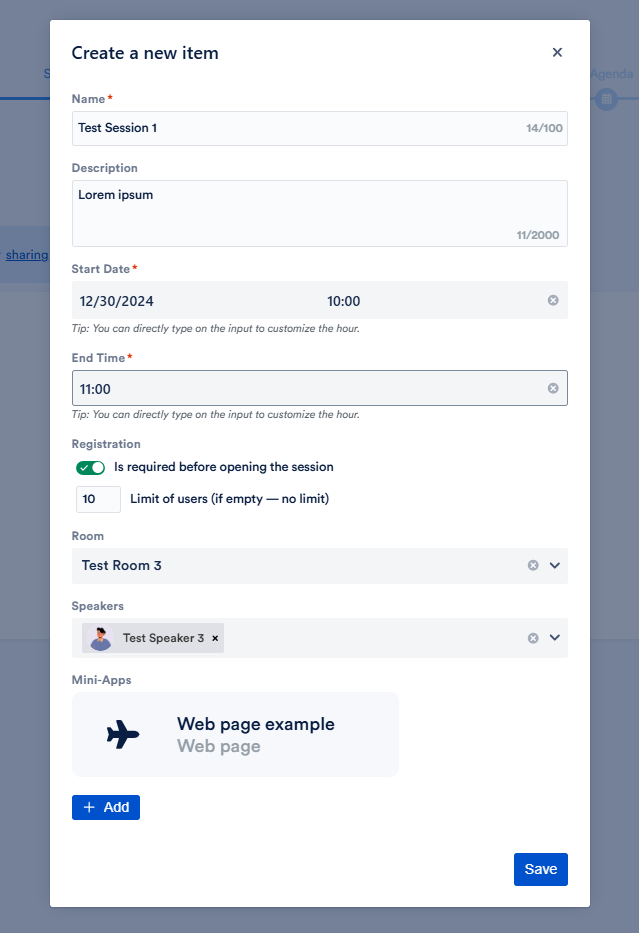
To start editing agenda using the XLSX file, we recommend creating at least one session first. Then, export the data by clicking on the Export icon and begin working with the downloaded file.
For example, let’s imagine you have already created two sessions named “Test Session 1” and “Test Session 2” with filling in all existing fields.

After exporting, the downloaded file will contain two rows, each displaying the session’s ID, Name, Description, Start and End dates, Registration Limit, Room and Speakers.

Note: Mini-apps are not included in the file, as they can only be managed through the Conf.app dashboard.

Update Session

To update any session information, simply modify the corresponding column in the XLSX file. Do not edit the “id” column — it serves as the unique identifier for an existing session.

To disable session registration, leave the cell in the registration_limit column empty. For unlimited registration, use the value -1.

The “name” field is required, so ensure this column is not left empty. You can also assign multiple speakers to a single session by using a semicolon (;) as a separator.

Mini-apps can be updated only after importing the data via the Conf.app dashboard.

Delete Session

To delete a session, simply remove the corresponding row from the XLSX file.

Create Session

To create a new session, add a new row in the XLSX file. Enter the session’s information in the corresponding columns and leave the “id” column blank.

Example

Let’s imagine we need to:
  • Rename the session “Test Session 1” to “Test Session 3”.
  • Delete the session “Test Session 2”.
  • Add a new session named “Test Session 4” without registration and with two speakers.
Following the above rules, the updated XLSX file will look like this:
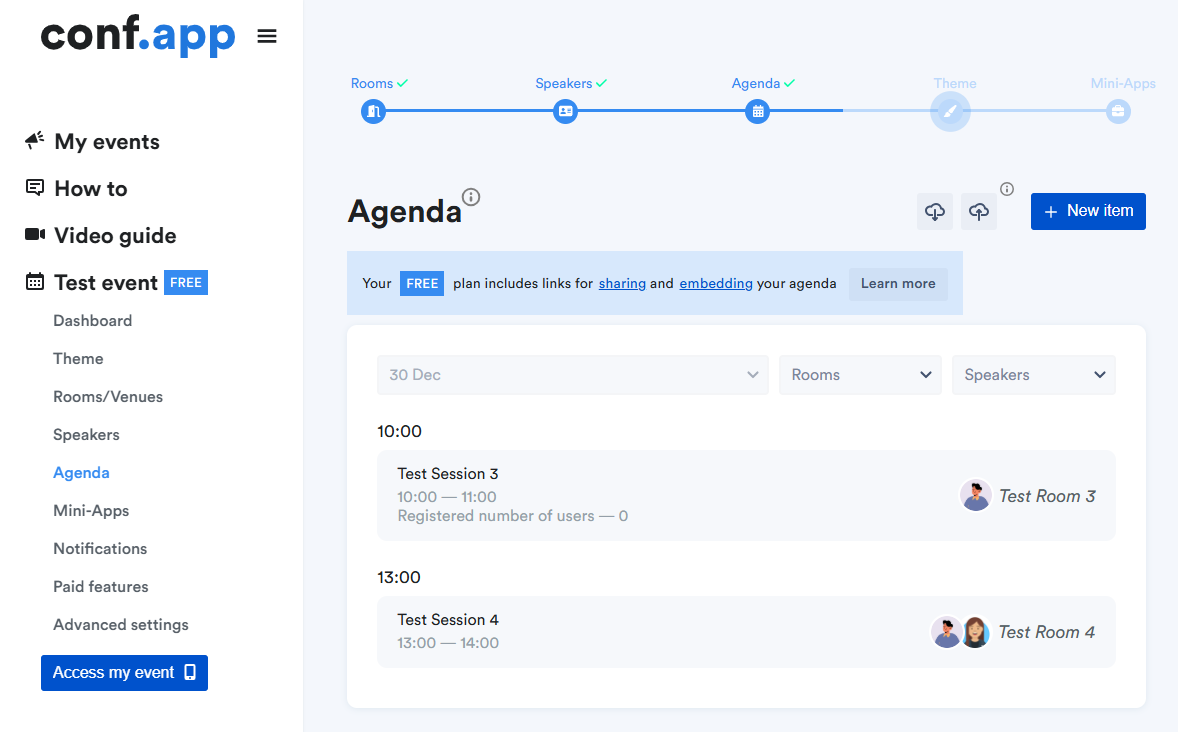
Once your edits are complete, save the file and upload it using the Import button. As a result, you will see the updated agenda in Conf.app.

Leave a Comment